
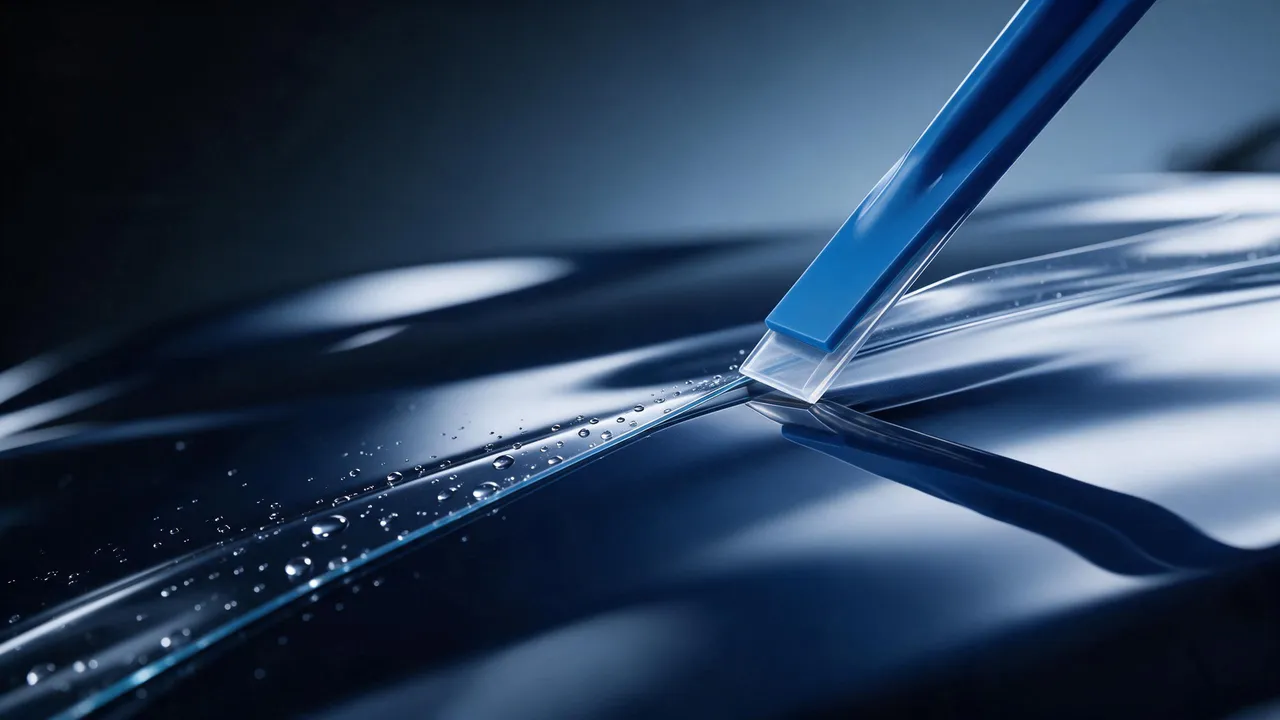
Edge lift, retained moisture and bubbles can involve installation, material, substrate or environmental factors. A written installation standard helps collect evidence and control the process, but appearance alone cannot establish a cause or exclude a film defect.
This guide organizes three decisions for a product-specific installation standard: dry or wet method, working environment and rework criteria. It is a purchasing and workshop planning framework, not a universal safe-work procedure. Confirm the film model, paint condition, approved chemicals and tool instructions before defining the shop SOP.
Dry and wet methods
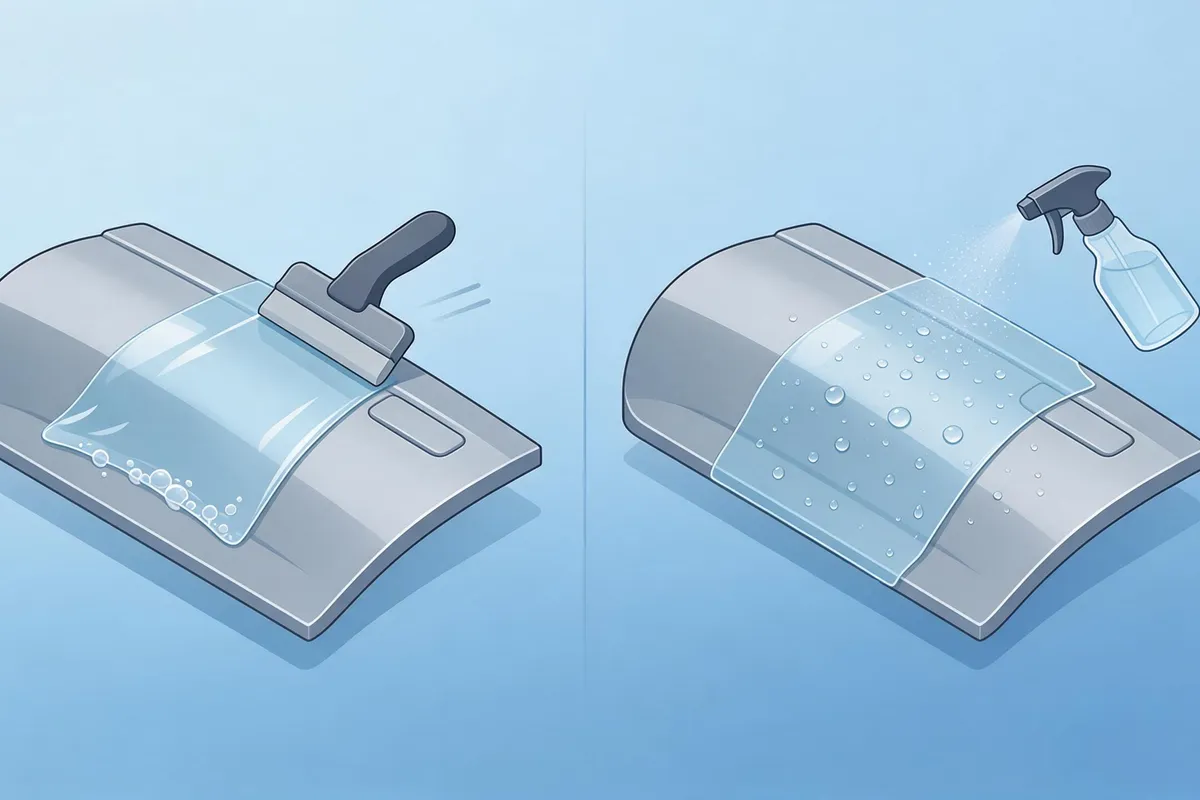
Dry installation positions the adhesive directly on a clean, prepared panel. When a film supports wet installation, an approved solution or gel helps position it before squeegeeing. Choose the method and tools for the exact film.
| Factor | What to record | What to record |
|---|---|---|
| Slip solution | No positioning solution in the dry-method description; follow the actual product instructions | Water and an approved additive only where the model permits wet installation |
| Positioning | Initial grip can limit adjustment | Solution can permit adjustment before removal by squeegee |
| Use the installation method and working conditions specified for the selected film. Evaluate adhesion and appearance on the intended panel before repeating the process. | Small panels and simpler curves, subject to model and technician capability | Larger panels and complex curves where wet installation is permitted |
| Drying / adhesion development | No positioning liquid to evaporate does not mean final adhesion is immediate | Drying varies with the film, installation medium and workshop conditions. |
| Issues to investigate | Retained air and tack that limits positioning | Residual moisture, haze and edge contact; do not infer the cause from appearance alone |
Neither method is universally superior. Changing the permitted method may require a different squeegee and drying procedure, documented and checked for the actual film and substrate.
Selecting a method
Record the permitted method for the exact model and substrate. A series-level guide should identify exceptions rather than replace model-specific instructions.
| Situation | What to verify |
|---|---|
| Large flat panels, such as hood or roof | Positioning needs and the approved liquid-removal procedure |
| Complex curves and bumpers | Model-specific conforming and stretching limits; no heat setting is established here |
| Small trim parts and mirrors | Positioning, edge contact and required post-installation conditioning |
| Use the installation method and working conditions specified for the selected film. Evaluate adhesion and appearance on the intended panel before repeating the process. | Confirm the permitted environment and heating instructions; postpone if conditions cannot be met |
| High humidity | Check permitted method and moisture assessment; do not invent a common drying duration |
For distributors, provide a dated, model-specific instruction and record any approved alternative. A written method supports traceability but does not guarantee identical results or remove the need for installer assessment.
Working environment
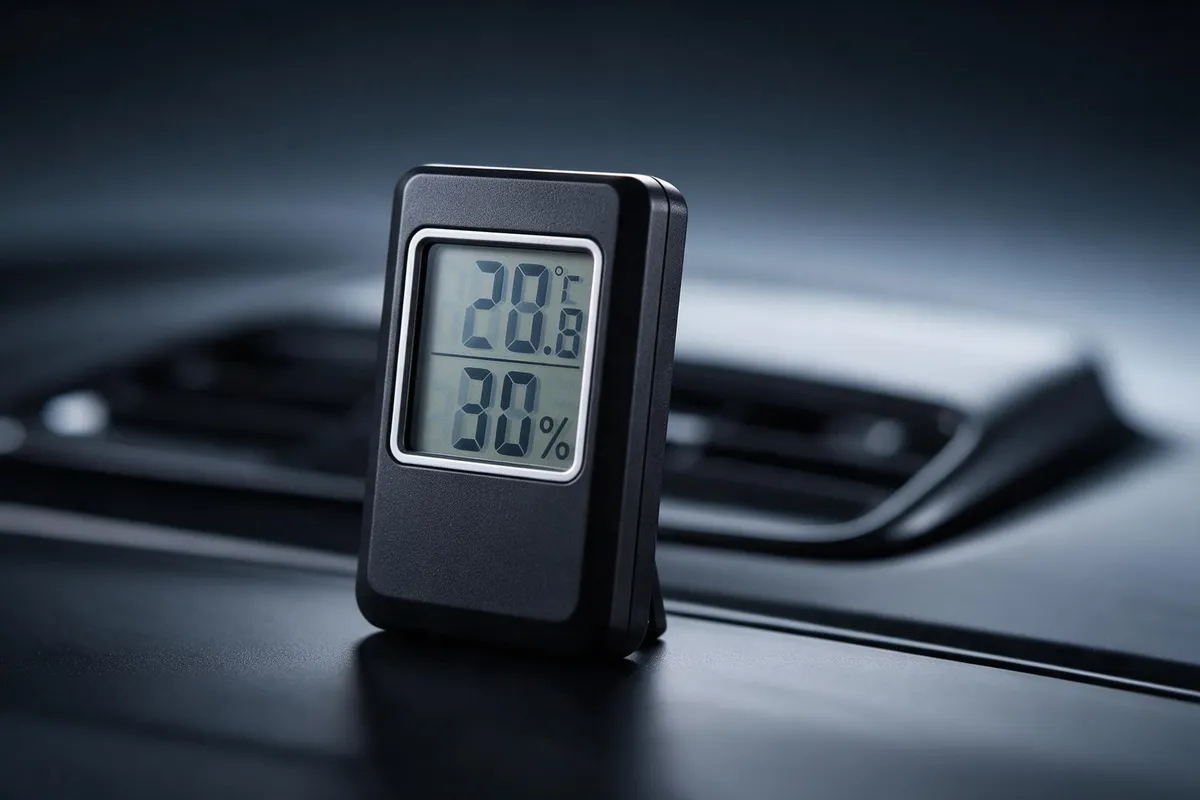
Temperature and humidity can affect a viscoelastic PSA system and drying. The figures below are source discussion references, not universal operating or safety limits. Use the actual model's film, panel and ambient-condition requirements.
Use the installation method and working conditions specified for the selected film. Evaluate adhesion and appearance on the intended panel before repeating the process.
Review seasonal conditions and record adjustments approved for the model. Temperature differences can affect behavior, but do not by themselves prove the cause of a failure.
Slip-solution specification
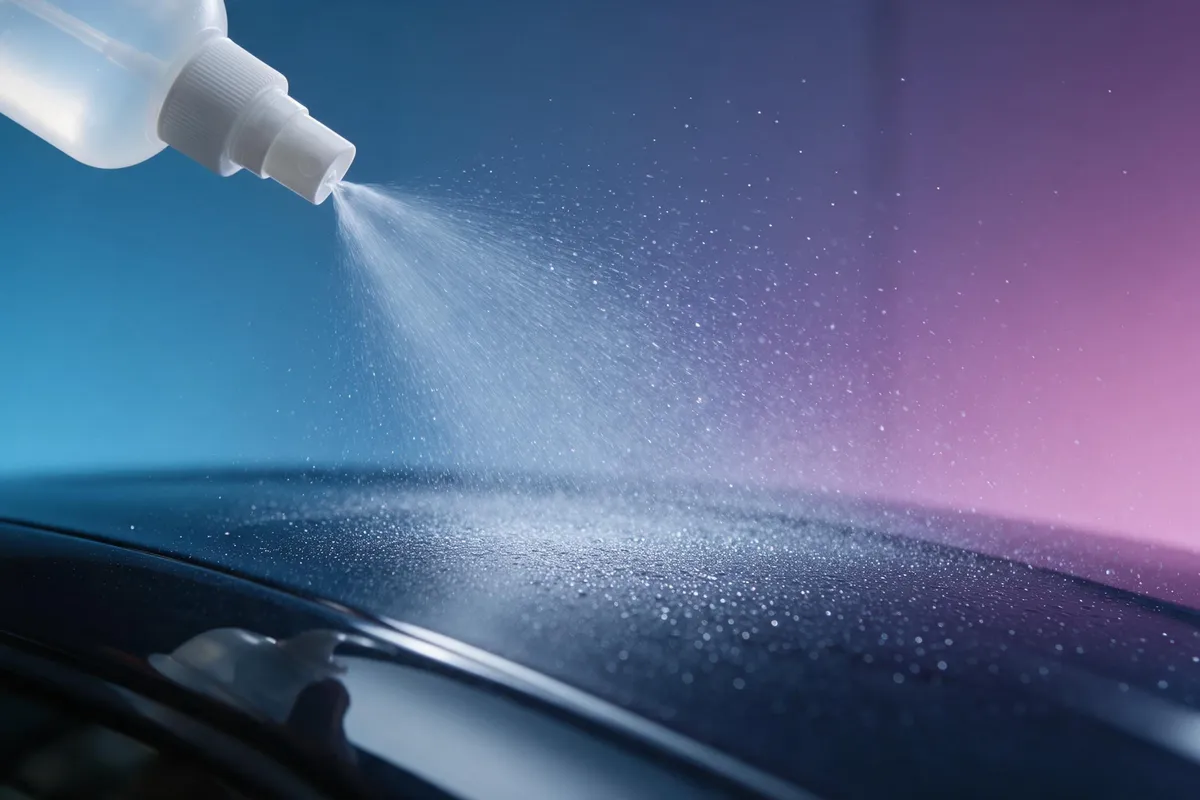
For a model that permits wet installation, use its approved solution and dilution.
Changing the additive or concentration can change positioning, initial grip and liquid removal. Review compatibility and the approved process rather than correcting the mix by trial on a customer's paint.
Water quality is another variable. Mineral deposits or contamination can affect appearance. Specify the water source and quality required by the actual film and solution instructions; do not assume one water treatment solves every installation issue.
Document the permitted additive, dilution and water source, together with the model-specific squeegee procedure. Record changes and verify them before use. This article establishes no universal ratio, number of passes or pressure setting.
Surface preparation
Surface condition matters for adhesion and appearance. Assess contamination, coating condition and compatibility before defining a preparation sequence; no generic sequence guarantees damage-free treatment of every paint.
- Wash using a method compatible with the paint and film instructions, to remove loose contamination.
- Decontaminate Use the installation method and working conditions specified for the selected film. Evaluate adhesion and appearance on the intended panel before repeating the process.
- Degrease with a specified, compatible product; verify its use instructions and safety data rather than assuming a solvent is safe.
- Dry and inspect under suitable lighting, recording paint condition before applying film.
- Protect adjacent areas according to vehicle and installation instructions; masking alone does not prove electrical protection.
Wax, polish and other residues can affect edge contact. Record surface preparation as one part of the investigation; do not label it the most common cause without evidence or exclude material and paint factors.
Edge wrapping
Edges can be affected by stress, geometry, contamination and material behavior. Use the approved edge detail for the actual model and panel; the following source examples do not guarantee prevention of edge failure.
- Specify the wrap detail. Confirm the actual edge geometry and model instructions.
- Check cleanliness and compatibility. Any additional edge cleaning must use a permitted method; do not introduce an unverified solvent or disturb the paint.
- Confirm any heat-setting requirement. Use heat only if the model and substrate instructions allow it, with their specified controls. No heat-gun setting, exposure time or universal stretch limit is supplied here.
Edge lift within a week is an observation to investigate, not proof of a preparation error or exclusion of a film defect. Keep installation, paint and material evidence before deciding the cause or remedy.
Rework or replacement
Document assessment and authorization criteria for the exact product. This source checklist is a discussion aid, not a warranty exclusion, automatic replacement entitlement or permission to reuse damaged film.
| Observation | Rework assessment | Replacement assessment |
|---|---|---|
| Small trapped dust particle | Use the installation method and working conditions specified for the selected film. Evaluate adhesion and appearance on the intended panel before repeating the process. | Assess contamination and any film or adhesive damage; no automatic “no replacement” rule |
| Moisture-like bubbles after wet installation | Use the model's stated inspection and drying period before deciding whether to intervene | Investigate persistent marks; persistence alone does not identify the cause or remedy |
| Use the installation method and working conditions specified for the selected film. Evaluate adhesion and appearance on the intended panel before repeating the process. | Assess cause and whether the model permits rework; not a universal re-cleaning or rewrapping instruction | Assess damage, contamination and product instructions; do not make stretching the only criterion |
| Creased or overstretched film | Do not assume it can be restored and reused | Assess replacement under the product's damage and service rules |
| Contamination across a large area | Do not assume rework is acceptable | Assess the film, substrate and approved replacement procedure |
It is not a universal inspection, washing or rework deadline. Confirm the actual film's drying and care instructions, record the observation and investigate persistence; do not replace a separately confirmed Type R 48-hour condition with this example.
Workshop SOP checklist
| # | Step | Control point |
|---|---|---|
| 1 | Record the environment | Actual film, panel and ambient conditions against model-specific limits |
| 2 | Assess and prepare the surface | Paint condition, compatible preparation method and pre-installation record |
| 3 | Confirm the model's method | Dated instructions, with any permitted alternatives and conditions recorded |
| 4 | Apply using the approved squeegee process | Model-specific tool, pressure, overlap and liquid-removal requirements |
| 5 | Follow the permitted edge detail | Wrap geometry, cleanliness and heat only where specified |
| 6 | Inspect under suitable lighting | Record appearance and defects with an agreed checklist and photographs |
| 7 | Record and hand over | Installation date, installer, roll ID, actual care instructions and any outstanding observations |
Frequently asked questions
Is dry or wet installation better for PPF?
Neither is universally better or permitted for every film. Wet positioning can offer adjustment, while dry positioning avoids positioning-liquid drying. Select the method from the exact model's instructions and panel conditions, not a general ranking or technician preference alone.
Can PPF be installed in cold conditions?
Condition the film and vehicle in a clean bay at 15–25°C and 45–50% relative humidity before installing CHISI films.
How long does wet-installed PPF take to dry?
Drying depends on the film, installation medium and workshop conditions. For CHISI vehicle films, avoid washing and prolonged rain exposure during the first week after installation.
Why does PPF lift at the edges?
Possible factors include contamination, edge geometry, installation conditions, film or adhesive behavior and paint condition. Investigate records and samples before assigning a cause; early lifting does not automatically rule out a material defect.
When should a shop rework rather than replace?
Use the exact product's inspection, rework and replacement guidance. Record the observation and condition of film, adhesive and paint. Source examples for dust, moisture or early edge lift are not blanket permission to lift and reuse film; creasing, stretching or contamination needs a separate damage assessment.
What tools should a shop specify?
Prepare lint-free cloths, suitable squeegees, a thermometer and humidity meter, and the tools specified for the film. Use a sprayer only for a method that calls for an installation liquid.
Process principle
Define the method for the actual model, record conditions, assess the surface and specify inspection and rework controls. Written procedures support consistency and investigation; they do not guarantee identical outcomes across seasons or transfer responsibility away from material defects.
Next steps for sourcing
For model-specific installation information, review Type B and Type R and request the applicable method, environment and care instructions. For the adhesive principles behind the discussion, read PPF adhesive sciencefor further context.
References and evidence limits
- CHISI installation guidance: request current instructions for the exact model. Generic examples here do not establish all-series dry/wet, heating, edge or washing rules.
- Surface preparation and adhesion assessment require the actual method, substrate and conditions. This article does not claim conformity to an unidentified installation standard or provide a complete safety procedure.