
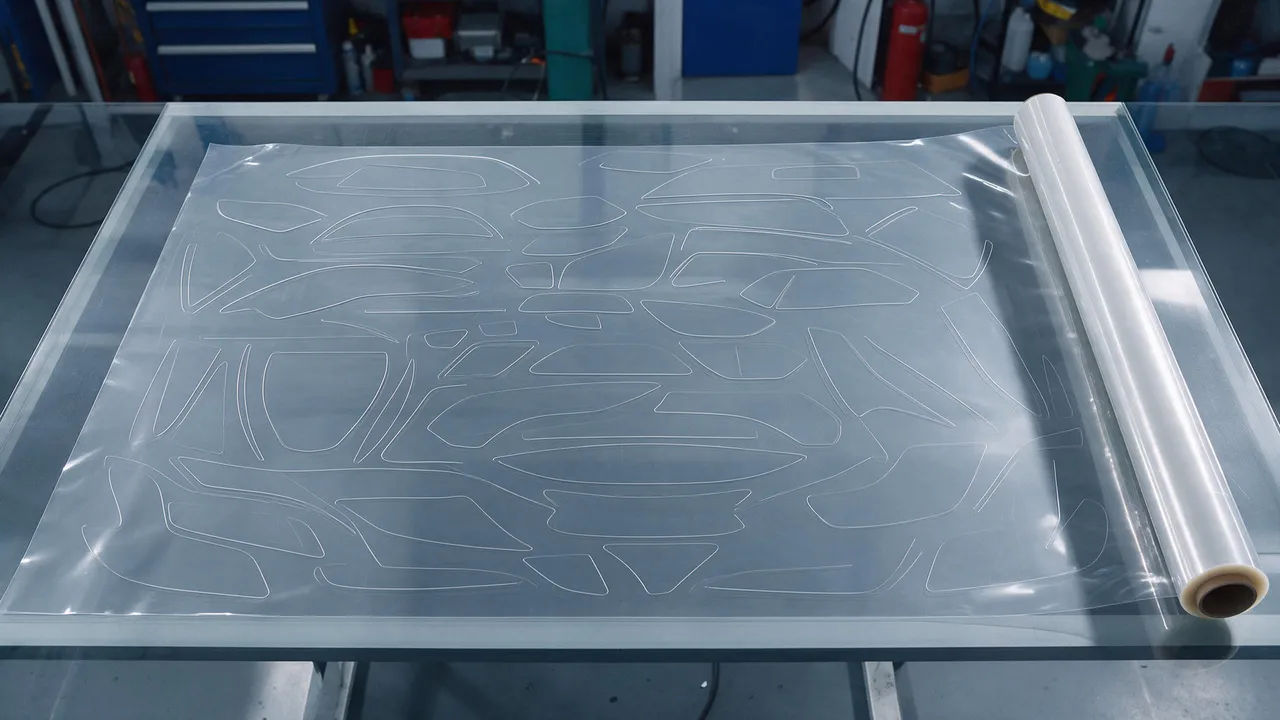
Nesting efficiency is the share of film used for acceptable cut patterns. Measure the usable pattern area against film consumed, and compare layouts for the same jobs and finish requirements.
Film can be a major variable cost in a PPF installation. Waste carries not only the purchase price but also handling, shipping and storage costs. Compare it with labor and other job costs using your own records rather than assuming one cost structure applies to every shop.
This guide follows the path from pattern preparation to cutting, identifies common waste sources and outlines measurements that make changes visible.
On this page
Sources of waste
Start with four categories of waste; each calls for a different response.
Shape mismatch. Vehicle panels have irregular outlines. A hood and a bumper pattern leave different gaps when arranged on a rectangular sheet. Nesting aims to reduce these unused spaces without compromising the patterns.
Width mismatch. Rotation, a different roll width or another approved layout may be needed. These dimensions illustrate a purchasing decision, not a universal CHISI roll specification.
Bleed and trim allowance. Patterns need suitable allowance for positioning, stretching and edge wrapping. Too little can cause re-cuts; too much consumes extra film. Confirm the allowance for the template, panel shape, film and installer process.
Operating decisions. Examples include opening a fresh sheet for a small part despite a usable remnant, mirroring an unsuitable template, or repeating a cut after incorrect blade setup. Record these causes separately from layout waste.
From pattern to cut file
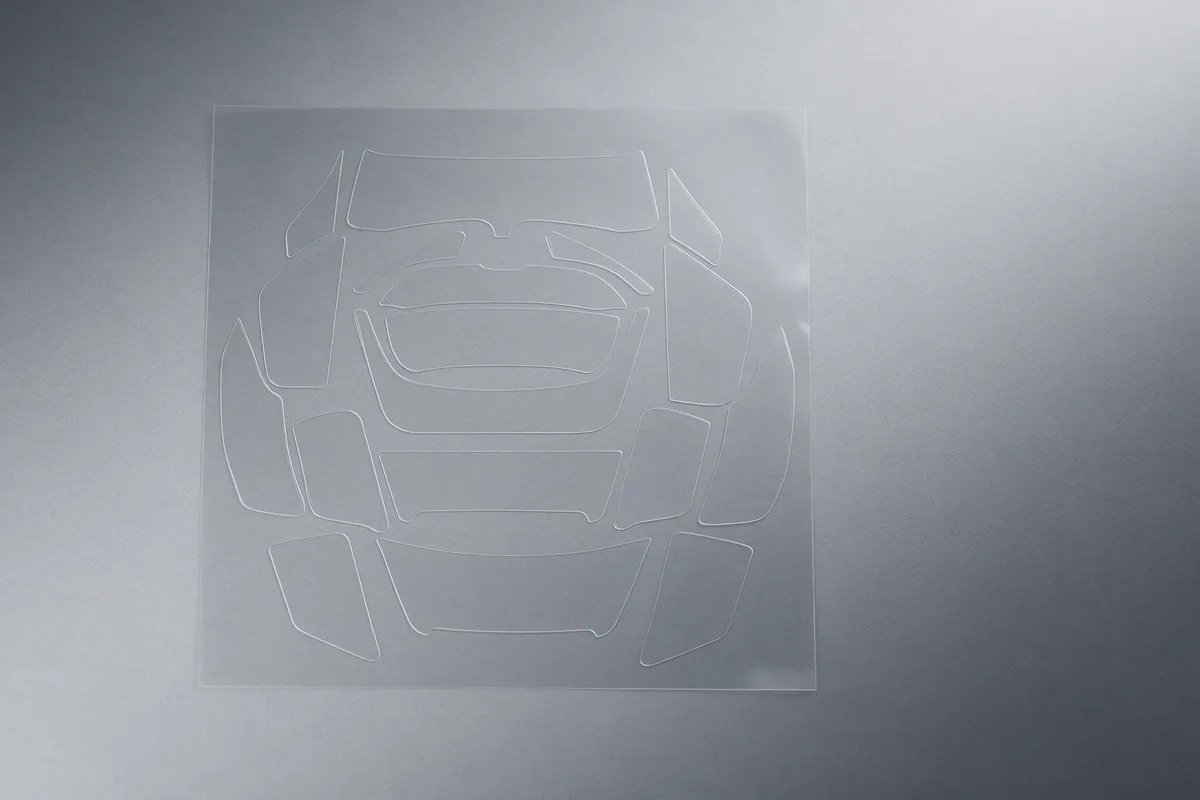
A cut file is a vector outline with production instructions, rather than simply a panel photograph. Check the following elements:
- Digitized geometry from a scan or measured template, validated for the selected film and fitting process.
- Bleed allowance around the perimeter.
- Relief cuts and seams — where tension may be relieved and where separate pieces meet, subject to the approved fitting plan.
- Orientation flag showing the required film direction for the pattern.
- Layer assignment for equipment with different film and liner operations; confirm the machine’s intended cutting mode rather than assuming the liner should be cut.
Orientation and layer settings constrain rotation. A layout that permits more rotations may use less material, but it still needs template, appearance and installation approval.
Six nesting levers
| Lever | Source indicative gain — not guaranteed | Condition |
|---|---|---|
| Rotate small parts | 3–8% | Only when the film and template permit the direction |
| Mirror suitable left/right pairs | 2–5% | Geometry, film construction and appearance must all permit it |
| Nest parts for two vehicles | 5–12% | Compatible jobs using the same specified film and batch requirements |
| Select a suitable roll width | Up to 10% | Based on a known vehicle mix and available product widths |
| Track remnants | 3–6% | Label and store offcuts using the film supplier’s guidance |
| Refine bleed allowance | 1–3% | Validated fitting trials, suitable panel and installer capability |
Do not add these percentages together. Establish a baseline and measure the combined effect on your own work.
Choosing width for the vehicle mix
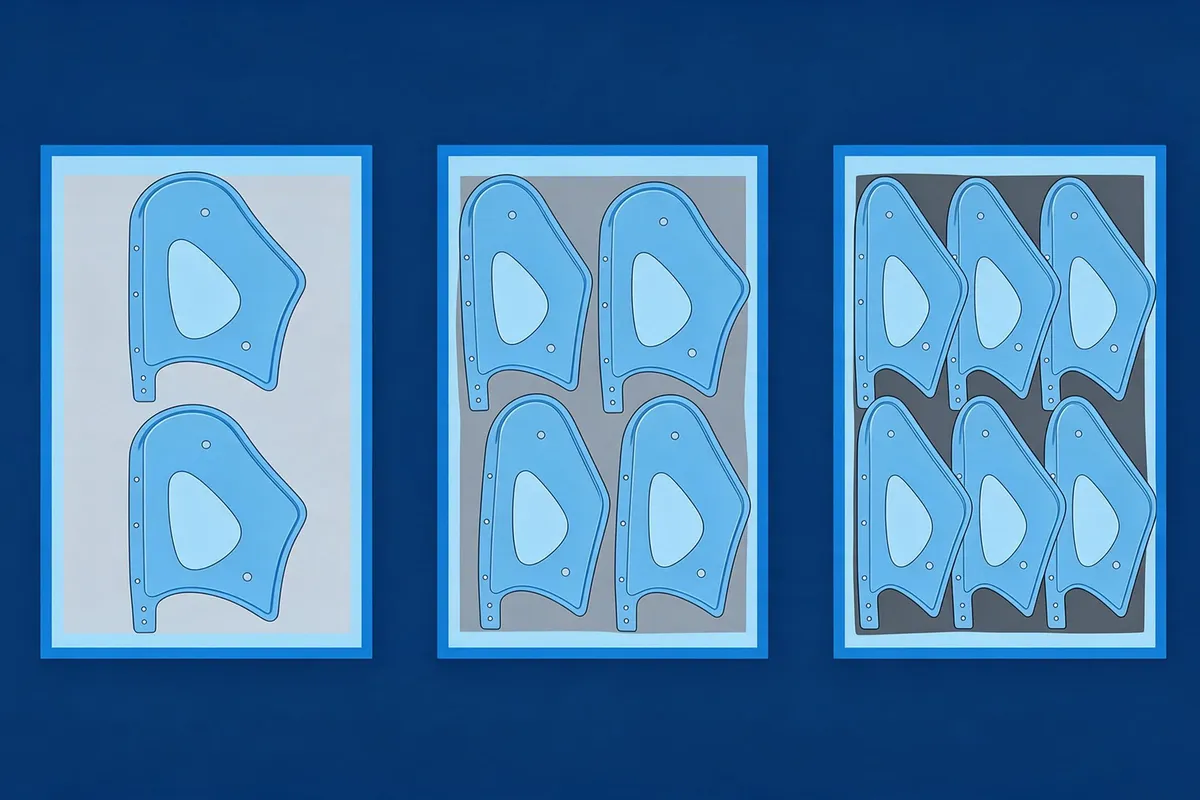
Check actual panel dimensions and available model-specific widths: a narrower roll may suit some smaller jobs, while a wider roll may reduce seams on certain large panels. Vehicle categories alone do not prove fit.
| Illustrative roll width | Potential applications — confirm dimensions | Trade-off to assess |
|---|---|---|
| 1.22 m | Doors, fenders, bumpers or smaller hoods, where dimensions fit | Compare cost by area and possible seam requirements, not roll price alone |
| 1.52 m | Hoods, roofs or rear quarters where the measured pattern fits | Check unused width on smaller patterns |
| 1.62 m and above | Larger panels or one-piece roofs, where the product and pattern permit | Assess price per area, available equipment and handling space |
Use job records to justify each stocked width. Extra widths can improve fit for particular work but also add storage, purchasing and remnant-management complexity; the number of widths alone does not prove good or poor planning.
Constraints before yield
Check appearance, handling history and seam placement before accepting a more compact layout. Material savings do not justify an unsuitable installation.
Directional appearance. Some metallic-look or pearlescent color films can show direction-dependent appearance. Follow the supplier’s orientation guidance and compare adjacent pieces before cutting. A commercial finish name alone does not establish pigment composition, directionality or permission to rotate.
Stretch and handling history. Handling can affect how a cut piece fits. Review long, narrow or diagonally arranged patterns with the installer, using the film’s guidance and a fitting trial where needed. A compact layout is not proof that the piece will install well.
Seam placement. A split pattern must still meet the agreed appearance and coverage requirements. Agree on seams before the layout is cut.
Measuring yield per vehicle
Start with cut yield and installed yield, then add cost and re-cut records. Keep the area and job boundaries consistent so the figures can be compared.
| Metric | Calculation | What it indicates |
|---|---|---|
| Cut yield | Sum of pattern areas ÷ sheet area consumed | Material use within the nesting layout |
| Installed yield | Film actually installed ÷ film purchased for the job, using the same area units | Effect of re-cuts, errors and the chosen remnant-accounting rule |
| Film cost per vehicle | Roll cost ÷ vehicles completed from that roll, with a consistent allocation rule | An input to job pricing, not the full job cost |
| Re-cut rate | Re-cut panels ÷ panels cut | A signal to investigate blade setup, handling, templates and fitting |
Group records by vehicle model and job scope as well as by period. A changing vehicle mix can hide repeated losses on a particular panel; investigate the cause rather than assuming it is always nesting.
A repeatable workflow
- Quote from recorded usage. Keep film-usage records by model and update them after each job.
- Batch compatible work by film. Where scheduling, film specification and batch requirements allow, compare a shared cutting session for two vehicles with separate sessions.
- Plan the largest panels first on a suitable, clean section of film, then assess where smaller parts fit without breaking orientation or handling rules.
- Label remnants promptly with size, film identity and batch, then store them under the applicable product guidance. Unidentified remnants should not be assumed suitable for the next job.
- Test the cut after a blade change. Check the result against the machine and film guidance before cutting production patterns.
- Review one job each week against the usage record as a suggested audit routine; adjust the frequency to the shop’s workload and risks.
When nesting and installation are assigned to different people, have the installer check the layout before cutting. Record any fitting constraints so the next operator can use the same knowledge.
Frequently asked questions
What is a useful nesting-efficiency target?
These are not validated industry acceptance criteria. Set a target from your own vehicle mix and quality-approved layouts, then measure it consistently.
Can left and right patterns be mirrored?
Only when the template geometry, film construction and supplier’s orientation guidance allow it. Clear film is not automatically permission to mirror. For directional appearance, compare adjacent pieces and preserve the specified orientation.
Does pattern rotation damage the film?
Rotation is a layout choice, not a substitute for a fitting check. Confirm template geometry, orientation and handling requirements; evaluate simple parts before using a changed orientation on complex panels. Do not infer that every film can be rotated without affecting the result.
How much bleed should a pattern have?
Confirm the template, wrapping plan, panel curvature, film limits and installation method, then check whether the allowance reduces errors without creating avoidable waste.
Should pre-cut kits be held in stock?
Consider them for repeat demand only after confirming storage and handling requirements for the film and liner. Track identity, batch and cutting date; no shelf-life extension or universal storage condition is established here.
How can re-cuts be reduced?
Use machine-specific blade settings, test after a blade change and inspect the first piece before cutting the full job. Record failures by cause, including template, material, handling and fitting, rather than assigning every re-cut to nesting.
Is software nesting better than manual layout?
Use that as a trial scenario, not a guaranteed performance ranking: compare setup time, allowed rotations, yield and fitting quality using your software and operators.
Can in-house cutting affect warranty coverage?
Check the applicable product warranty, cutting instructions and storage requirements before starting. Keep roll identity, batch, cutting date and installation records. Neither in-house cutting alone nor the timing of a failure establishes coverage or proves its cause; the product terms and investigation govern.
Link film yield to job margins
Track material savings alongside labor, rework and quality. Confirm whether a revised layout improves the overall job economics in your own records.
For distributors and shops planning a cutting program, explore equipment and software options in the OEM and ODM catalog. Available plotters, flatbed cutters and software should be confirmed for the project. For related discussion of film handling and construction, see film thickness measurement and cast versus calendered TPU. To discuss a setup for your workload, contact our team with your vehicle mix and monthly throughput.