
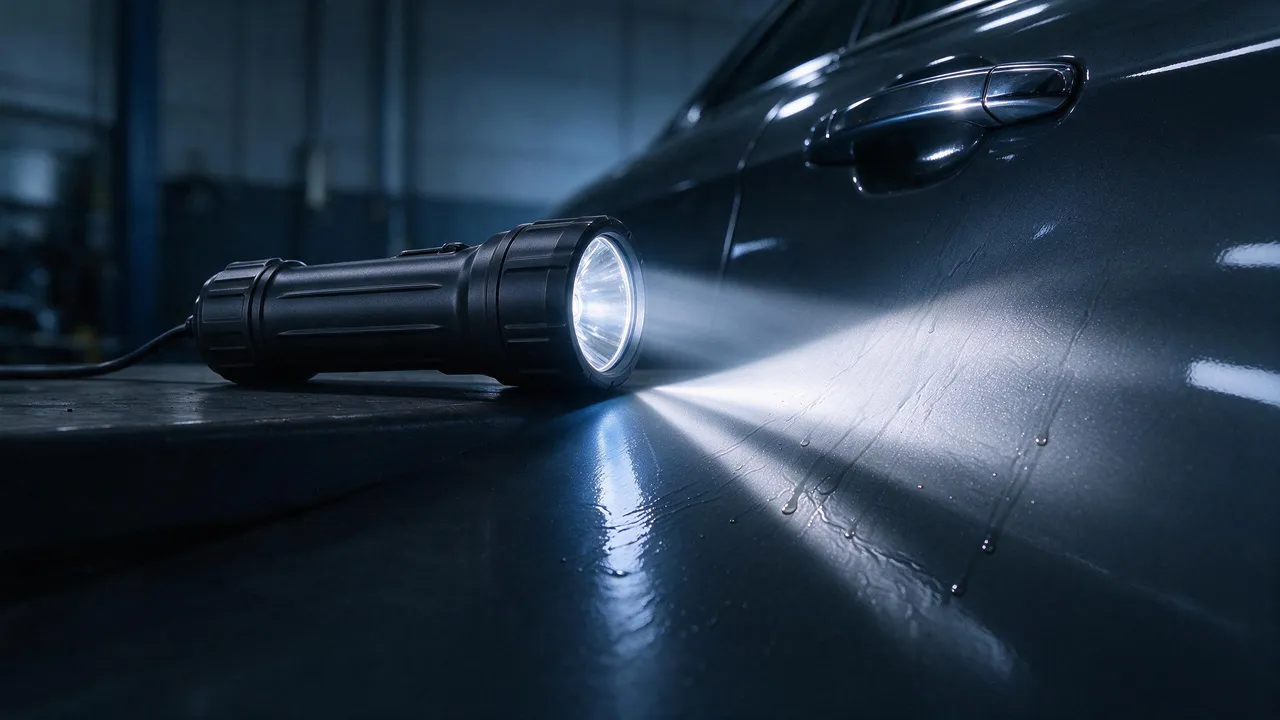
Short answer: Handover inspection is a documented checkpoint before a vehicle leaves the installation bay. Agree on viewing conditions, product-specific acceptance criteria and how findings will be handled, then record the result. A signature documents the inspection; warranty terms and any legal effect are separate questions.
A well-fitted film can still contain an overlooked inclusion or an unexplained seam. Inspection lets the shop and customer discuss the observed condition before handover and plan any follow-up work. It does not guarantee that every future issue will be visible at this stage.
This guide proposes defect categories, viewing conditions, an inspection workflow and a record set. The numerical thresholds are source examples for discussion, not a universal industry standard or CHISI product acceptance specification. Confirm the actual criteria and approved remedies for the film and job.
On this page
Inspect before handover
Finding an issue before release can make follow-up easier to schedule and discuss. Record the actual inspection and rework time rather than relying on a fixed saving in hours or days. The aim is an agreed, traceable process, not a promise that inspection prevents every complaint.
Make inspection a defined completion step. Written criteria and repeatable viewing conditions help different installers assess work consistently, while allowing the product and job-specific requirements to be recorded.
Inspection records also support discussions with the film supplier. Describe observations separately from a suspected cause; inspection alone does not prove whether handling or material caused a defect. For the broader workflow, see PPF installation standards; this article focuses on the inspection checkpoint.
Responsibility and acceptance criteria
Assign technical sign-off to a competent person accountable for installation quality, such as the lead installer or foreman. Record who inspected and who acknowledged the result. Do not treat acknowledgment as a blanket waiver of future claims; the applicable terms and any legal effect must be considered separately.
Write the criteria down, using the product’s acceptance guidance where available and agreed job requirements. State the criteria version and inspection conditions in the job file so later comparisons use the same basis.
Defect categories
Classify the observed condition before selecting a response. Useful groups include inclusions, trapped air or moisture, adhesive patterns, stretch-related marks, edge problems and geometry errors. A category guides investigation; it does not by itself establish the cause or authorize a repair method.
Record dust particles or fibers, bubbles or moisture pockets, adhesive haze or texture, stretch marks or cloudiness, lifted edges, surface scratches, cut deviation and visible seams separately. Each needs an agreed acceptance criterion and disposition rather than a general “rough appearance” label.
A shared vocabulary supports training and consistent records. Link the category to the investigation and approved response, without assuming every mark has the same fix. Related edge terminology is discussed in PPF edge wrapping and relief cuts so the same terms can be used across the workshop.
Viewing conditions
Use agreed lighting conditions to reveal different features. Grazing light can highlight surface relief and inclusions; diffuse daylight supports appearance assessment; focused LED light can help examine local areas. Record source, angle and viewing distance rather than calling one view the only “true” result.
Inspect consistently under the agreed combination of lighting conditions. Log a visible finding with the condition under which it appears, then assess it against the applicable criterion. Train inspectors to use a repeatable viewing pattern rather than a quick glance.
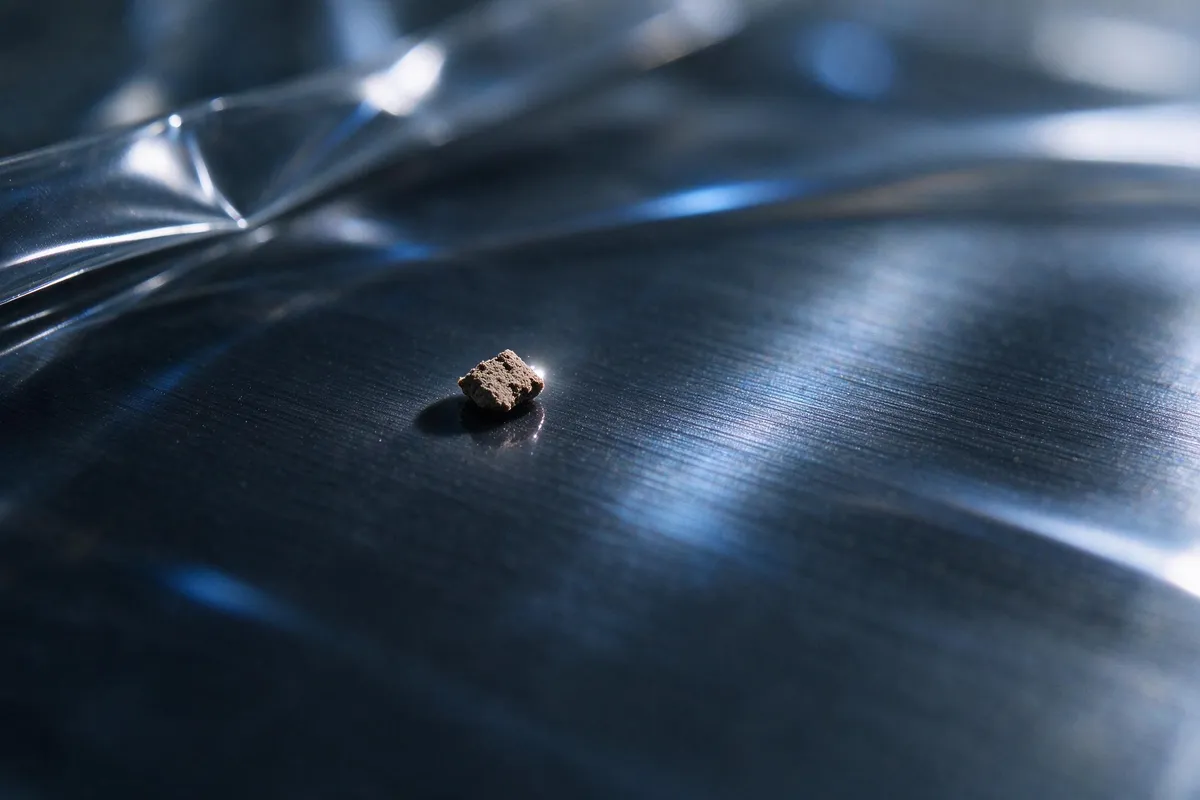
Example thresholds by defect category
Viewing distance, panel size, film and agreed use affect the criterion. Specify count, size, area and any exclusion zones, then obtain the appropriate product and project agreement.
Compare findings with the product’s guidance and agreed criteria; consider edge, sensor and camera areas separately. Do not perform heat, pressure, piercing or cutting work solely because a table lists it.
| Defect category | Response to assess, not a repair instruction |
|---|---|
| Dust particles / fibers | Assess against agreed criteria; investigate before rework |
| Bubbles / moisture pockets | Confirm the condition and approved method; do not assume perforation is permitted |
| Adhesive haze / texture | Assess product-specific rework; do not assume heat and pressure will remove it |
| Stretch marks / cloudiness | Assess damage and replacement needs; do not rely on heat to reverse overstretch |
| Edge lift / rebound | Confirm an approved remedy; assess paint damage separately before further work |
| Surface scratches | Assess the scratch and applicable acceptance or replacement criteria |
| Cut deviation | Assess film coverage and paint condition; do not treat recutting as a remedy for damaged paint |
| Visible seams | Check against the approved seam plan and product guidance |
Inspection workflow
A suggested sequence is cleaning, light inspection, edge inspection, photographs and sign-off. Define completion criteria for each step and record exceptions. Adapt the sequence to the film’s curing and care requirements rather than releasing a job solely because the checklist is filled in.
Clean the surface using the applicable product guidance, then inspect panels and edges under the agreed conditions. Record photos and any unresolved findings before sign-off. Invite the customer to review the result where practical, without replacing the technical inspection with a visual acknowledgment.

| Step | Action | Completion condition |
|---|---|---|
| 1. Clean | Clean with approved products and a suitable lint-free towel | No loose dust or cleaning residue masking the inspection area |
| 2. Check under agreed lighting | View under the specified grazing, daylight and LED conditions | Findings assessed against the documented criteria |
| 3. Check edges | Inspect lips, seams and cut lines without disturbing the film | Edge seating and paint condition documented; exceptions resolved or logged |
| 4. Photograph | Panel overview and close-ups of flagged areas under recorded light | Photo set linked to the job record |
| 5. Record sign-off | Record conditions, criteria, findings and the people acknowledging the result | Record complete, with photos and follow-up actions filed |
Photographic records
Photographs are one part of the handover record. Capture panel overviews, close-ups of findings and a suitable job or vehicle reference. Use comparable light, angle and distance for any recheck, and retain the written criteria alongside the images; a photograph alone may not show every defect.
Store images against the job number with the inspection notes. They support a later investigation but do not automatically establish when damage occurred or who is responsible. For customer-facing care information, see PPF care and maintenance.
Handover documents
Keep the inspection record, photos, film identity and batch details, applicable warranty information and care guidance together. This makes the job traceable and gives both the shop and customer a consistent reference without implying that documentation alone guarantees a claim outcome.
Record the product and batch in the warranty documents where required. Give first-wash and curing guidance for the exact product and installation method, rather than a universal waiting period. For claim-process planning, see PPF warranty programs.
| Document | Contents | Custodian or recipient |
|---|---|---|
| Inspection record | Viewing conditions, criteria, findings and disposition | Shop file and customer copy as agreed |
| Photo set | Panel overviews, close-ups and job reference | Shop archive linked to job number |
| Film and batch record | Product line, roll batch and installation date | Customer copy and shop record as agreed |
| Care guidance | Product-specific cure and first-wash guidance; contact route | Customer |
Frequently asked questions
Who should carry out the inspection?
Use a competent inspector accountable for installation quality, such as the lead installer or foreman. Separate the technical assessment from sales approval and record each person’s role; this is an operating recommendation, not a mandatory professional qualification rule.
Which lighting conditions should be used?
Agree on grazing light, diffuse daylight and focused LED views where appropriate. Record source, angle and distance, log findings under each condition and apply the product-specific criteria consistently. A lighting method is not a substitute for agreed acceptance limits.
How many dust particles are acceptable?
It is not a validated universal standard. Confirm size, count, viewing conditions and critical zones for the exact film and job, then record the agreed criterion.
What does the customer’s acknowledgment record?
Its intended purpose here is to record the observed handover condition and agreed follow-up. Keep that record separate from warranty terms and claim procedures. This article does not determine the legal effect of a signature or any statutory rights; those depend on the applicable agreement and rules.
Can stretch marks be reworked?
Assess the actual mark and the film’s working limits with the supplier. Do not assume whitening or damage from overstretch will recover with heat or pressure. Replacement may be required, and the forming process should be reviewed; a visual label alone does not establish the mechanism.
Why keep photographs before handover?
A consistent, dated photo set supports the written inspection record and later comparison. Use comparable conditions and retain context; photographs are evidence to assess, not an automatic answer to every responsibility or warranty dispute.
What belongs in the handover pack?
Include the inspection record, photos, film identity and batch details, applicable warranty information and product-specific care guidance. Record any unresolved item and the agreed next action; documents support traceability without guaranteeing claim acceptance.
Do Matte and Gloss use the same criteria?
The same category names may be useful, but appearance and permitted rework methods depend on the finish and product. Use the manufacturer’s notes rather than copying a Gloss baseline or assuming one heat tolerance applies to all Matte films.
Inspection as a documented process
Written categories, viewing conditions, criteria and records help make handover repeatable. Track actual findings and callbacks to evaluate the process; do not assume a checklist alone reduces every shop’s rework rate.
For related edge and installation guidance, see the linked guide. To discuss inspection criteria for a selected film line, contact our team.