
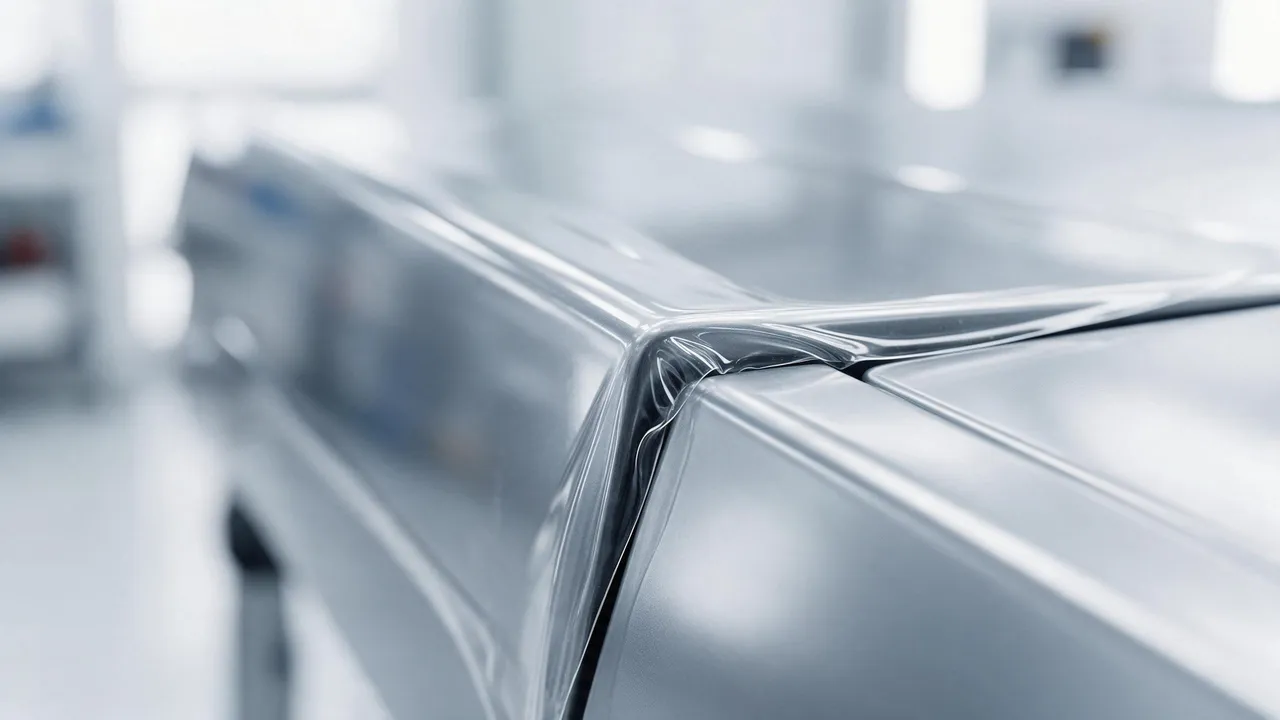
Short answer: Edge design must account for residual film tension, adhesive contact and the shape of the return. Decide whether to wrap, trim or use an approved relief layout for the actual film and panel. No single margin or heating sequence guarantees that an edge will remain bonded.
A clean panel face does not establish a durable edge. Inspect preparation, accessible bonding area, deformation and the product’s finishing instructions.
Treat edge finishing as a documented inspection step, including the visible seam and the underlying surface condition.
On this page
Investigating edge lift
Bond geometry changes around a panel return. Loads can include shear, peel and bending, depending on the shape and deformation. An edge can concentrate load, but that does not prove it will always fail first or that every flat area carries only shear.
TPU may recover part of an imposed deformation, leaving a residual load at an edge. Its response depends on strain, temperature, time and the complete laminate. Edge lift can also involve preparation, liquid, adhesive contact or product condition; do not diagnose it from cooling history alone.
Warming can change film stiffness and adhesive behavior, but it does not always increase tack or remove residual tension. Use the exact product’s permitted conditioning, pressure and cooling sequence. Cooling to room temperature is not proof of chemical cure or complete adhesion development.
Concave and compound curves can complicate strain distribution. Evaluate whether the film can follow the proposed geometry without unacceptable thinning, wrinkles or edge stress; a relief cut is one possible design choice, not an automatic requirement. See heat forming on curves.
Wrap, trim or relief layout
Assess the accessible return, paint condition, cleanliness, clearance and geometry. A deep open return may allow a wrap; a narrow or inaccessible channel may need a different termination. Do not apply over contamination or assume a concave corner always needs the same cut.
Choose a termination that the film instructions allow and that can be inspected. Do not force film into an inaccessible or unsuitable return. Any protruding trim, seam or relief must be agreed for the fit and appearance; trimming does not make a contaminated bonding surface acceptable.
A wrapped edge is not automatically more durable than a trimmed one, and sealing is not universally required. Compare the actual contact area, residual stress and approved finishing system. Product and paint conditions remain part of the assessment.
| Panel area | Source layout example to verify | Possible issue to investigate |
|---|---|---|
| Door edge with an open return | Trial-fit the exact vehicle, body panel and film. Record the trim version, usable edge return and final fit before cutting a production batch. | Possible peel-back associated with residual tension or contact conditions |
| Concave bumper return | Assess an approved relief layout and finish each resulting section | Check local whitening, wrinkles and lift; these are not a single-cause diagnosis |
| Narrow channel behind a fender flare | Consider an approved trim termination instead of forcing a wrap | Check clearance and exposure of the cut edge to handling and washing |
| Mirror cap with compound curvature | Evaluate relief location and local strain for the actual pattern | Check thinning, appearance and edge stress; no predicted failure time |
| Door-handle recess | Confirm recess coverage and trimming in the approved layout | Check contact and clearance where fingers reach the recess |
Planning relief cuts
A relief cut changes the film layout to reduce unwanted deformation. Plan its location and finishing before installation. Use the approved precut or surface-protection method; this general explanation is not permission to cut directly on vehicle paint with an exposed blade.
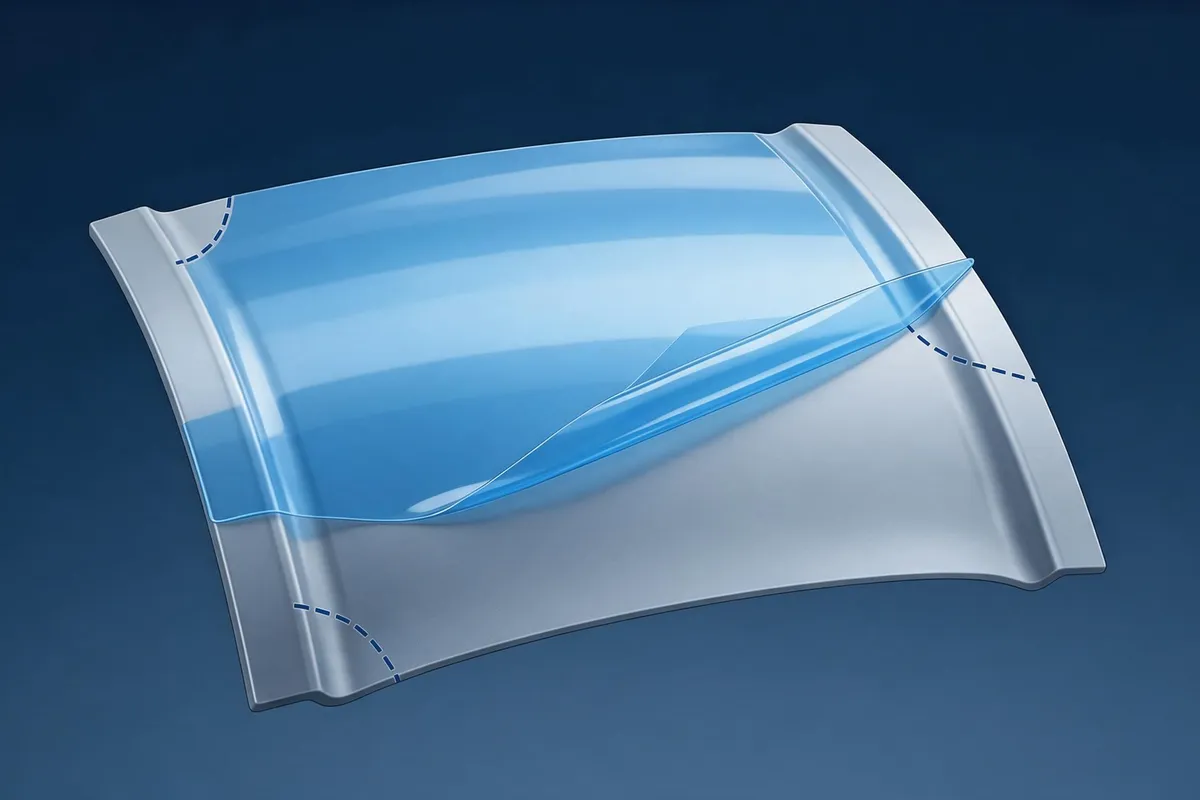
Concave corners, compound curves and locally concentrated stretch are areas to assess. A slit may redistribute strain but can also create a seam or a new stress concentration. Confirm the actual pattern and do not treat one cut direction as suitable for every shape.
Choose the cut location and length through the approved pattern and trial process. Assess the slit end, edge load and visible seam together. A shorter cut is not automatically sufficient, and extending a slit into a highly stressed area may introduce another weak point.
Relief placement is part of pattern design. Use a suitable approved precut layout and validate any change before working near the underlying surface. For layout planning, see pattern cutting and nesting.
Finishing a relieved edge
Finish the separated sections using the film’s permitted tools, temperature and contact procedure. Whether edges meet, overlap or use another termination depends on the approved design. Neither a universal butt joint nor a universal prohibition on overlap is justified for every film and panel.
Use an edge-sealing product only when the film and paint system permit it. Confirm its exact application, compatibility and drying conditions. A sealer is not a substitute for clean contact or a guarantee against water entry, temperature cycling or edge lift.
Agree seam position and appearance with the customer before installation. Evaluate both visible finish and bond quality; an intentional-looking seam does not itself establish durability. If the proposed layout cannot meet the agreed criteria, revise it rather than concealing the issue.
Panel-specific examples

A bumper return and an open door edge can need different layouts. Confirm geometry, accessible contact and the film’s permitted method for each panel.
A narrow fender channel or compound mirror cap requires inspection rather than a fixed trim rule. Check access, paint condition, contamination and strain distribution. Any trim, relief or sealer must be compatible with the actual film and agreed appearance.
Assess the geometry and contact first, then select and verify the finishing layout. For the adhesive background, see PPF adhesive science.
Conditions to document
Document the available return, surface preparation, film orientation, local deformation, contact method and inspection criteria. Select tools and heating only as permitted for the actual finish. Holding an edge until cool does not alone establish complete adhesion or a durable installation.
| Parameter | Verification needed |
|---|---|
| Margin beyond the visible edge | Confirm the approved pattern, usable contact area and product-specific margin |
| Film-surface temperature during wrapping | Trial-fit the exact vehicle, body panel and film. Record the trim version, usable edge return and final fit before cutting a production batch. |
| Edge tool | Check tool condition, cover and permitted contact pressure for the finish |
| Support and inspection before release | Assess contact and residual tension under the product’s inspection procedure; no fixed one-day failure prediction |
These figures are source teaching references. Thickness or a clear, color, matte or satin label does not determine an allowable temperature or holding time. Confirm the exact product procedure. For broader context, see PPF installation guidance and follow the product-specific instructions.
Investigating edge defects
The following observations can guide an investigation, but do not exclude a film, adhesive or substrate problem. Identify the cause and applicable repair procedure before choosing to rewrap, recut or replace.
| Observed defect | Possible cause to investigate | Assessment needed |
|---|---|---|
| Lift at the edge tip | Check preparation, contact, liquid, tension and temperature history | Compare residual load and bond development; not a single-cause diagnosis |
| Haze or whitening near the edge | Possible deformation, adhesive disturbance or retained liquid | Identify the affected layer and assess recovery or replacement by the product procedure |
| Dirt near the edge | Check preparation, handling and possible entry paths | An open seam is one possibility; dirt alone does not prove water wicking |
| A cut or score in the paint | Investigate tool contact and pre-existing surface condition | Distinguish paint damage from film or adhesive failure |
A suspected paint score requires assessment; rewrapping does not repair damaged paint. Protect the surface using the approved precut or cutting-control method and qualified personnel. Do not turn a general blade-angle suggestion into a guarantee of paint safety, or decide warranty responsibility without the evidence and actual terms.
Frequently asked questions
Should every edge be wrapped?
No. Assess the accessible return, contact surface, clearance and approved film layout. A wrap is not suitable everywhere. If contact cannot be prepared or inspected, agree another permitted termination rather than bonding over contamination or forcing the film into a channel.
How far should film extend around an edge?
Confirm the pattern, return geometry, usable painted surface and the film instructions. The margin must suit the actual fit without creating excessive tension or interference.
Where should a relief cut be placed?
Use the approved pattern and evaluate local strain, the cut end, contact and appearance on the actual geometry. Concave corners and compound curves are source examples to inspect, not instructions for one cut direction. Protect the underlying surface during any permitted cutting operation.
Can a relief seam be invisible?
Do not promise invisibility. Agree the seam’s location and appearance before installation. The permitted joint and any sealer depend on the exact film and substrate; a smooth seam is not proof of water resistance or long-term durability.
Why did an edge lift a day after installation?
Check preparation, liquid, contact, residual strain, temperature history and product condition. Use the product’s assessment and approved rework procedure instead of automatically reheating and pressing every lifted edge.
Is an edge sealer always required?
No universal requirement follows from an edge being wrapped, trimmed or relieved. Use a sealer only where the film and paint instructions approve it, with the correct application and drying conditions. It cannot correct poor preparation or an unsuitable layout.
Can color or matte edges use the same method?
Do not infer one method or a lower heat limit from the finish name alone. Check the specific laminate, appearance requirements and permitted tools, heat and strain. Test a representative sample and agree any relief or joint before installation.
Does wrapping an edge change warranty coverage?
Assess coverage under the exact model, applicable terms and documented installation evidence. Wrapping alone neither activates nor voids a warranty. Suspected paint damage must be investigated separately from a film or adhesive defect; do not decide responsibility from the edge appearance alone.
Document and inspect edge finishing
Record the layout, surface condition, product-specific margin, permitted temperature, tools and inspection result. These records support repeatability and investigation, but a checklist alone does not establish durability or safety for every film and paint system.
For broader procedure planning, see PPF installation guidance and for the interface background, see PPF adhesive science. To discuss a film and tool setup for your vehicle mix, contact our team.