
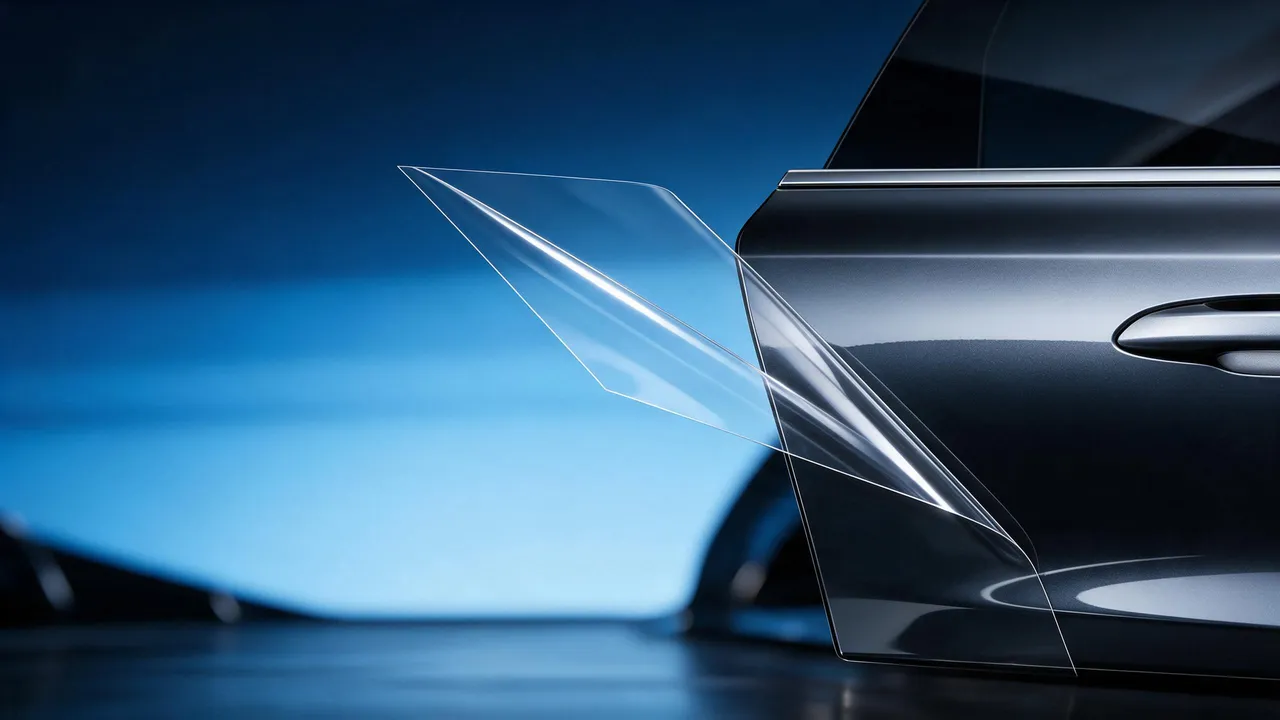
Short answer: Plan PPF removal around the actual film, adhesive, paint condition and removal instructions. Aging, heat, pull angle and cleaning chemicals can change the result, but no single combination guarantees residue-free or damage-free removal. Inspect first, use the permitted method and stop if the paint or film behaves unexpectedly.
Removal exposes a paint system and adhesive that may have changed during use. Do not assume all PSAs continue to cure or crosslink after installation, or that removal is always riskier than installation. This guide identifies assessment questions and source examples; it does not certify every paint system as suitable for removal.
The aim is to remove the film, identify remaining material and assess the exposed paint before further work. Paint condition and product compatibility determine whether that can be achieved without correction; a general procedure cannot guarantee the outcome.
On this page
Assessing removal risks
Adhesion can develop after application and change with exposure, but later peel behavior is formulation- and substrate-dependent. Do not assume every aged adhesive becomes stronger, crosslinks further or contains migrated plasticizer. Assess the actual removal response and records rather than predicting it from age alone.
Paint adhesion, repair history, defects and removal conditions all matter. Neither OEM paint nor a baked refinish is automatically immune to lifting, and an air-dried repair is not automatically unsuitable. Assess the specific coating system and its condition with the paint manufacturer or qualified repairer where needed.
Heating affects both film and paint, so directing heat at the film does not isolate the paint from exposure. Confirm the permitted heat source and measured conditions for removal; do not assume warming always reduces load or makes any paint safe to peel.
For the interface background, see PPF adhesive science. Use that context with the exact film’s removal instructions rather than inferring a procedure from adhesive chemistry alone.
Planning the removal process
Inspect and document the vehicle first, confirm the product and paint requirements, then agree a permitted removal and cleanup plan. The sequence below is a discussion framework, not a guarantee that every step makes every surface safe.
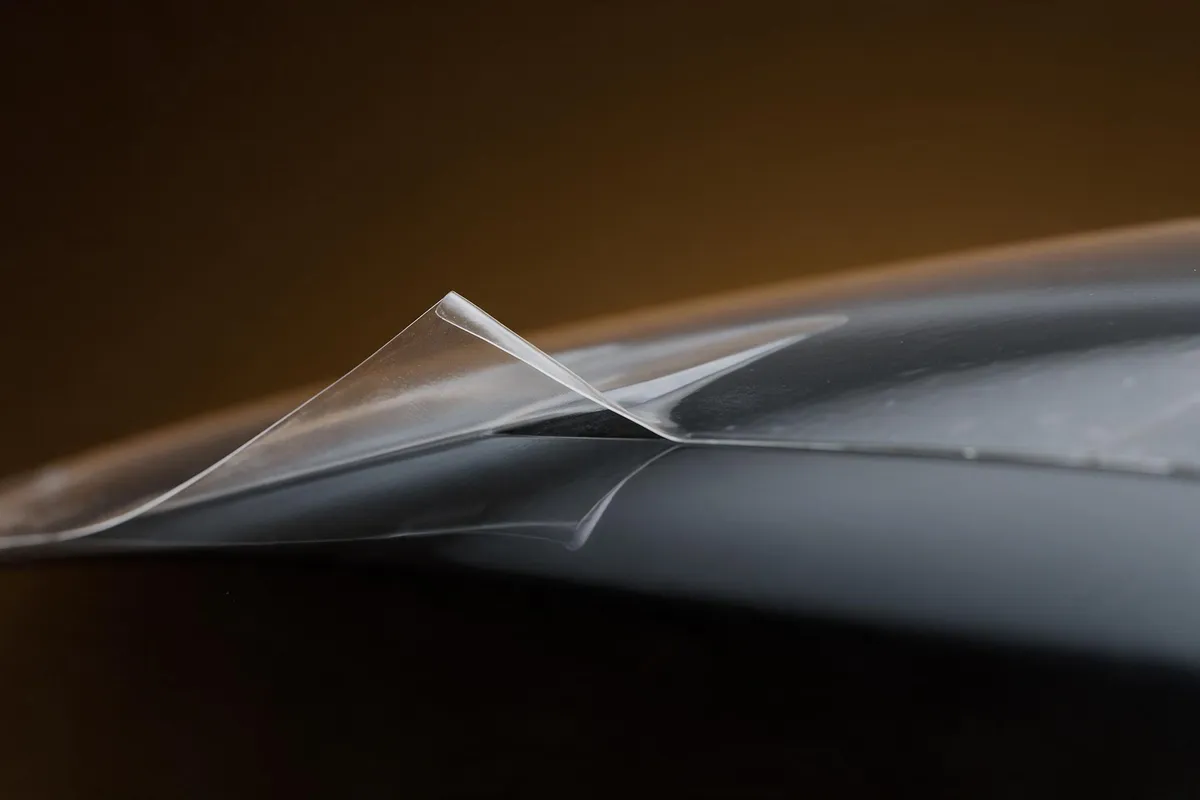
Confirm any permitted heating. Use only the heat source and surface conditions permitted for the film and paint system. A heat gun set to low or moderate is not a measured surface temperature. Check a representative area using the specified assessment method and avoid treating heat as a remedy for unexpected resistance.
Confirm the pull angle and rate. Different products specify different pull methods. Confirm the angle reference, rate and permitted heating; avoid sudden pulling and stop if coating movement or unexpected resistance appears.
Identify any residue. Some material may remain after removal, but do not assume it is always normal adhesive residue. Identify adhesive, coating or paint material before selecting a compatible cleanup method. Do not apply a dry-scraping rule to an unknown surface.
Inspect the paint. Before polishing or applying another film, inspect and record the exposed surface under suitable lighting. Compare with pre-work records for blistering, discoloration, marks and lifting. Do not assume polishing can correct every issue.
For the related care context, see PPF care and maintenance; care guidance does not replace a model-specific removal procedure.
When to stop or seek paint expertise
Unknown paint history, visible defects or an unsuitable film condition may require specialist assessment before proceeding. Neither leaving film in place indefinitely nor removing it immediately is a universal answer; agree the next step from the actual evidence.
Repainted or incompletely documented panels. Confirm the exact refinish system and its application or removal requirements with the paint manufacturer or repairer. A hidden-area check does not guarantee that the whole panel will release without damage.
Existing delamination or blistering. Stop and obtain a qualified paint assessment if lifting or blistering is visible. Do not prescribe polishing, sealing or pulling the film as a universal first repair. Document the condition and agree a repair/removal plan.
Severely changed or degraded film. Fragmentation, residue or resistance may occur with degraded film, but appearance and age do not prove adhesive migration into paint. Assess the actual film and substrate, and use a specialist removal plan rather than forcing a resistant area.
Cold working conditions. Condition the work area, film and vehicle as specified; do not compensate for cold conditions with uncontrolled local heat or force.
Age as a planning reference
Age is one variable alongside exposure, construction and paint condition. The following source age bands are planning examples, not CHISI service-life ratings, warranty periods or a guaranteed difficulty ranking.
Inspect the film and paint first. Plan removal using the product’s approved method and check how the paint responds on a suitable test area.
Some aged films need more cleanup, but older does not always mean harder and younger does not guarantee clean release. Inspect before quoting time and scope. Do not promise a fixed full-vehicle removal slot or a damage-free result based only on service age.
Assessing adhesive cleanup
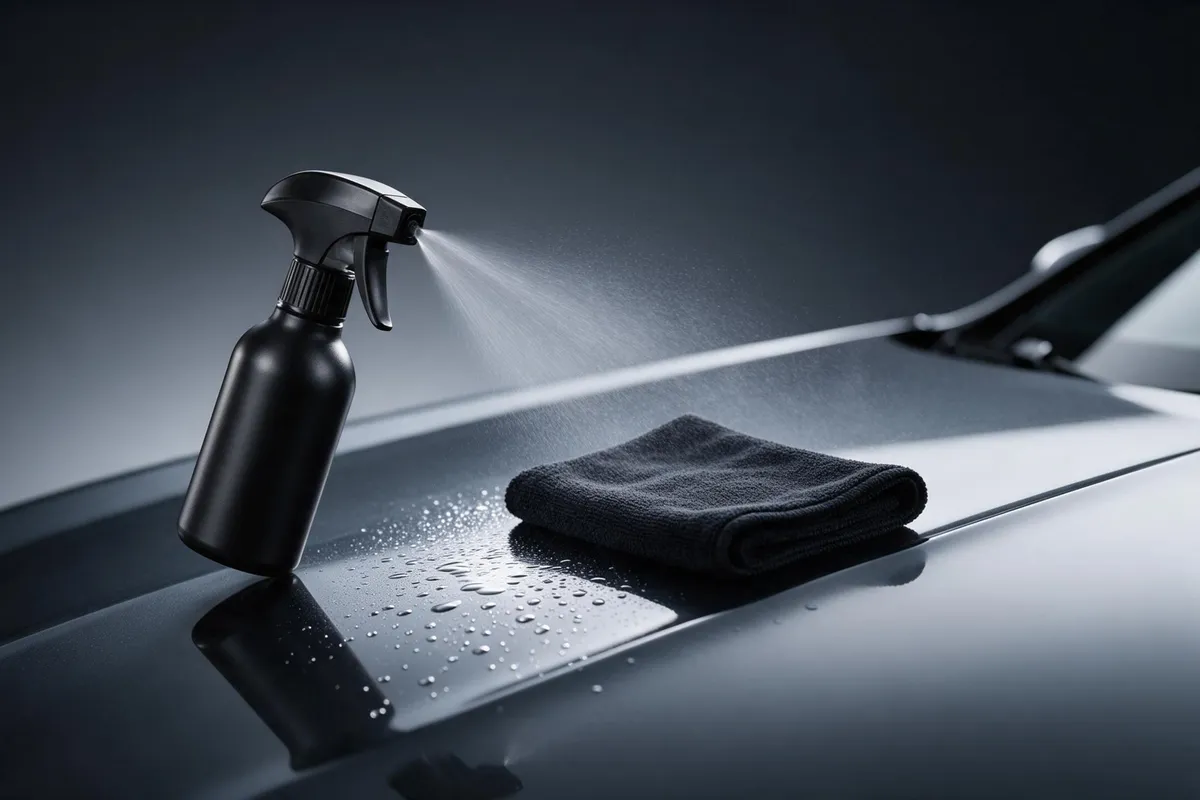
Identify the residue and paint system before selecting a cleaner or tool. There is no universal sequence from remover to alcohol, heat and scraping. Follow the cleaner’s instructions and safety information, the paint requirements and the film guidance; compatibility with film alone does not establish compatibility with paint.
| Method | Effectiveness to verify | Compatibility and risk assessment |
|---|---|---|
| Specified adhesive remover | Depends on the residue and product | Confirm compatibility with the actual paint, not only the film |
| Diluted isopropyl alcohol, where approved | Not suitable or effective for every residue | Use only the documented concentration and contact conditions; no blanket low-risk claim |
| Heating during cleanup, where permitted | Validate for the residue, cleaner and substrate together | Heat reaches paint too; do not combine heat and chemicals without the approved procedure |
| Mechanical residue removal | Only a specifically permitted tool and method | Even a plastic tool may mark paint; not a universal last step |
Use the approved cleaner, exposure and wiping method rather than increasing chemical strength or rubbing force by trial and error. A hidden-area check is limited evidence, not a whole-panel guarantee. If compatibility or the residue identity is uncertain, stop and obtain the relevant product or paint guidance before proceeding.
Inspecting the exposed paint
Document the exposed surface before polishing or another film. Use suitable lighting, compare with the pre-removal record and distinguish adhesive, coating and paint observations. Inspection records support investigation but do not by themselves assign cause or liability.
| Inspection item | Observation to investigate | Assessment before further work |
|---|---|---|
| Blistering | Identify the affected layer; do not infer paint delamination from a bubble alone | Stop for qualified assessment if coating damage is suspected; do not polish over it |
| Color difference | Compare the area with adjacent paint under controlled lighting | Record and investigate before choosing correction |
| Scratches or surface marks | Compare with prior records; tools or debris are possible, not proven causes | A paint specialist should assess correction; not every finish can be polished or touched up alike |
| Suspected adhesive residue | Identify tacky or cloudy material before treatment | Use only a compatible approved cleanup procedure |
| Edges and corners | Inspect and document coating condition around the return | Do not automatically seal damage; seek paint assessment and retain the evidence |
Compare before-and-after evidence and assess any claim under the applicable model and actual terms. A completed checklist alone does not establish when damage occurred, who caused it or whether a claim is covered. For claim planning, see the PPF warranty program; for installation context, see PPF installation guidance.
Frequently asked questions
Is removal harder than installation?
It can be, but not always. Film construction, exposure, adhesive and paint condition affect the work. Inspect before estimating peeling and cleanup time; age alone does not determine difficulty or paint risk.
What temperature should be used for removal?
Use the film and paint requirements for the permitted removal method. Distinguish tool settings from surface measurements and do not infer safe exposure from softening alone.
Why does pull angle matter?
Angle and pull rate change the peel conditions and may affect film stretch, residue and coating load. No angle alone guarantees that OEM, aged or repainted surfaces will remain undamaged.
Can any adhesive remover be used?
No. Confirm the exact cleaner’s compatibility with the paint, coating and remaining material, including its concentration, contact and safety conditions. Film compatibility alone is insufficient, and a small-area trial is not a guarantee for the whole vehicle.
How long after repainting should removal wait?
Ask the paint manufacturer or repairer about the exact system, curing process and intended removal work. Record the repair history and do not assume a waiting period alone makes the panel safe.
What if the film breaks into pieces?
Stop and assess the film, adhesive and paint condition. Fragmentation is not proof of age alone, and extra heat or force is not an automatic remedy. Use a suitable professional removal plan; if paint moves or unexpected resistance persists, do not continue by force.
Should paint be polished immediately after removal?
Inspect and identify residue or coating damage first. Polishing suitability depends on the paint and finish; matte, textured, aged and repaired surfaces may need different treatment. Do not polish over suspected delamination or assume every light mark can be corrected safely.
Does removal automatically void the warranty?
Assess the exact model, applicable terms, claim timing and documented condition. Removal alone does not decide coverage or responsibility. Distinguish film or adhesive concerns from paint damage without automatically assigning fault. See the PPF warranty program.
Removal as a documented process
Identify the film and paint, record their condition, use the permitted removal and cleanup methods, and inspect before further work. These steps support a controlled process but do not guarantee paint ready for reuse, residue-free removal or freedom from damage on every vehicle.
For the interface background, see PPF adhesive science; for installation context, PPF installation guidance; and for claim planning, the PPF warranty program. To discuss the requirements of a particular film and vehicle, contact our team.